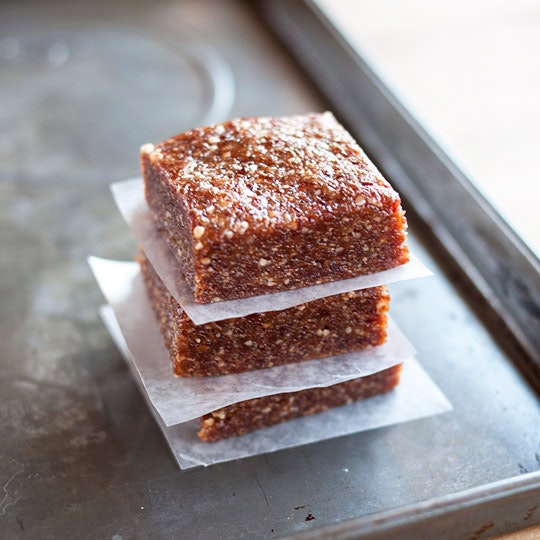
Energy Bar
About This Project
What You Need
Ingredients
1 cup nuts
1 cup dried fruit
1 cup Dates
Food processor
Plastic wrap or wax paper
Sharp knife
Instructions
1 Roast the nuts (optional). Nuts can be used raw or roasted, roasting will add a toasty, nutty depth to the bars. If desired, roast the nuts at 175°C for 10 to 12 minutes, until fragrant and golden. Allow to cool before using.
2 Combine the nuts, dried fruit, and dates in a food processor. Combine all the ingredients in a food processor. Pulse a few times just to break them up. Separate the dates if they start to clump together.
3 Process continuously for 30 seconds. By this point, the ingredients should all have broken down into crumb-sized pieces. Scrape the edges of the bowl and beneath the blade to make sure nothing is sticking.
4 Process continuously until a ball is formed, 1 to 2 minutes. Continue processing for another 1 to 2 minutes, until the ingredients clump together and gather into a ball.
5 Press into a thick square and chill. Lay a piece of plastic wrap or wax paper on your work surface and dump the dough on top. Press the dough with your hands until it forms a thick square.
Wrap and chill for at least an hour or overnight.
6 Divide into bars. Unwrap the chilled dough and transfer to a cutting board. Cut into 8 large bars or 16 small squares, as desired. Wrap each bar in plastic wrap or wax paper.
7 Store the bars. Store the bars in the fridge for several weeks or in the freezer for up to 3 months. The bars can be eaten straight from the fridge or freezer and will be firm, but chewy. Room-temperature bars are perfectly fine to eat and can be kept in a lunch bag or backpack all day, but will be more soft and paste-like.


